
The time tracking add-on for Dynamics 365 allows employees to track their work efforts and occurred cost for assigned tasks in the form of time entries. The application helps employees to plan and control the progress with the project.
Time registration workers can enter clock in, clock out, register indirect activities, and absence registration. In companies that use Time and attendance, your workers must register the time that they spend at work and their attendance. Likewise, some companies may only require workers to register clocking-in and clocking-out times.
Whereas in others, workers may also be required to register time consumption on the actual tasks they perform as well as their allocated breaks.
Moreover, the intended users of Time and attendance are:
- Workers, who are required to register time and attendance at regular intervals: daily, weekly or bi-weekly.
- Supervisors, managers, and payroll officers who calculate, approve, and transfer worker registrations for further processing.
Registrations on projects, project activities, indirect activities, absence codes, and overtime and flex time will be recorded and are used to calculate payroll in both modules. Here in this example, let’s record time entry for absence.
Step 1: Open your CRM in the browser and open your account
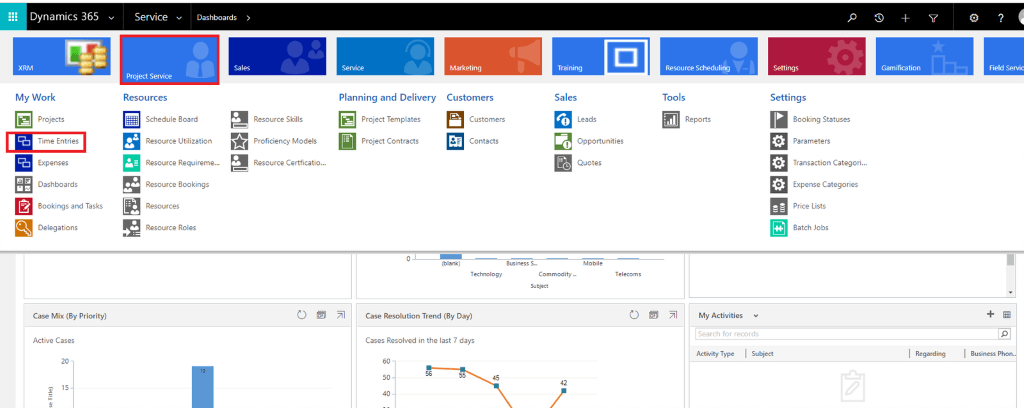
Step 2: Insert your username and password for the login which will display after opening the CRM in the browser. After you login it will open a dashboard as shown in the figure below

Step 3: Go to Project Service > Time Entries
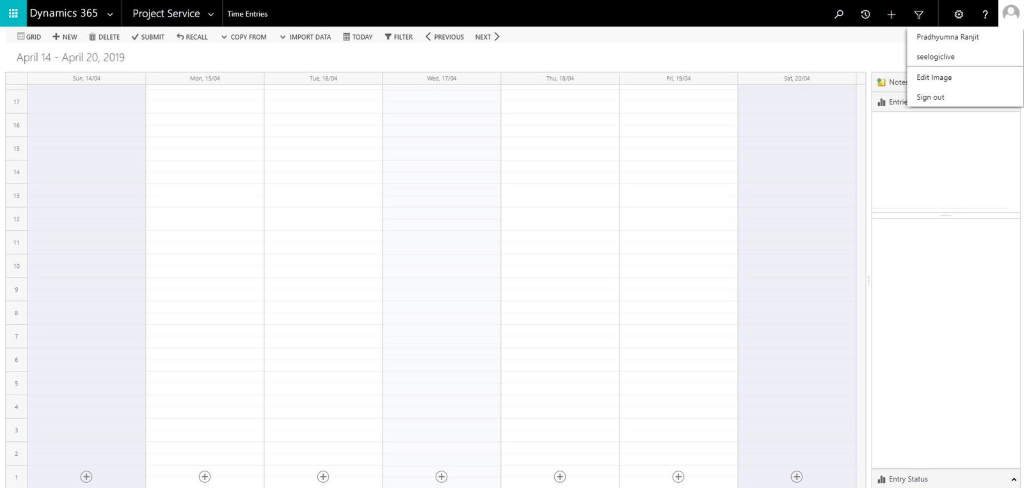
Time Entries form is open as shown below:
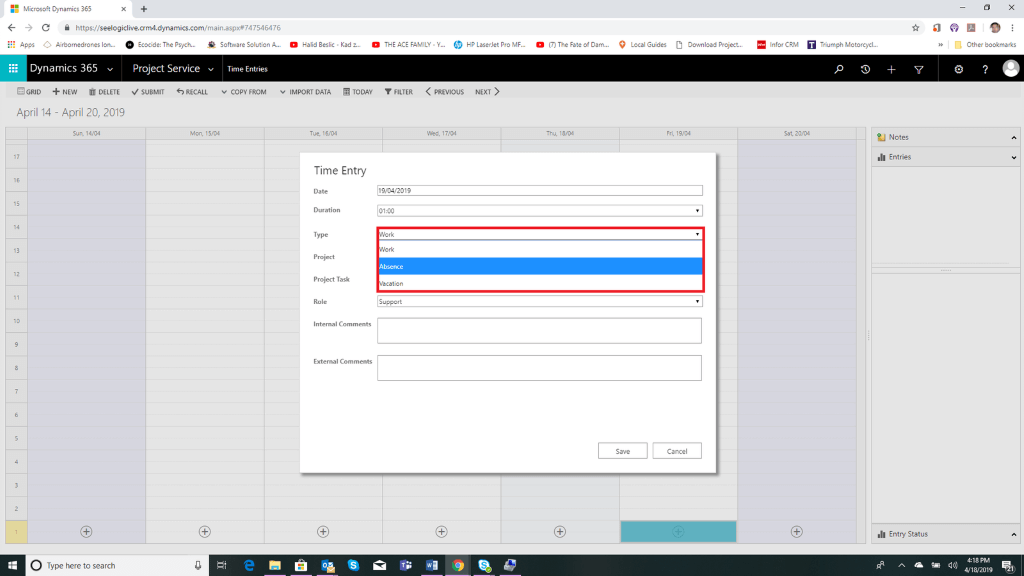
Step 5: After selecting a date, the below figure dialog box will open to fill the details of time entry
- Select the duration of time for time entry
- Select the type of time entry by clicking on the drop-down box and the options you can view are Work, Absence and Vacation
- For now, let’s select absence option
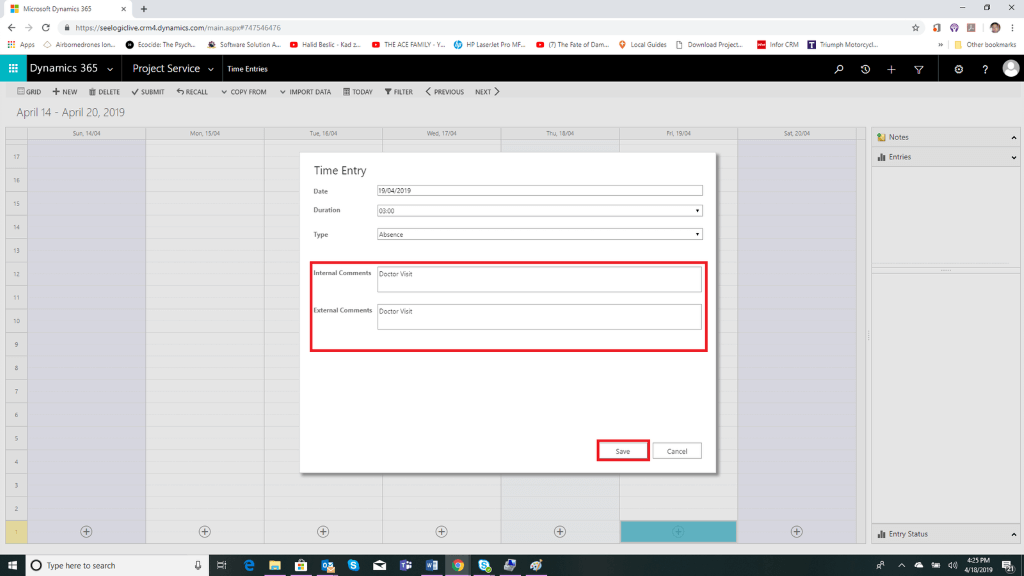
Step 6: Now, write the comment in internal and external comments box and click Save
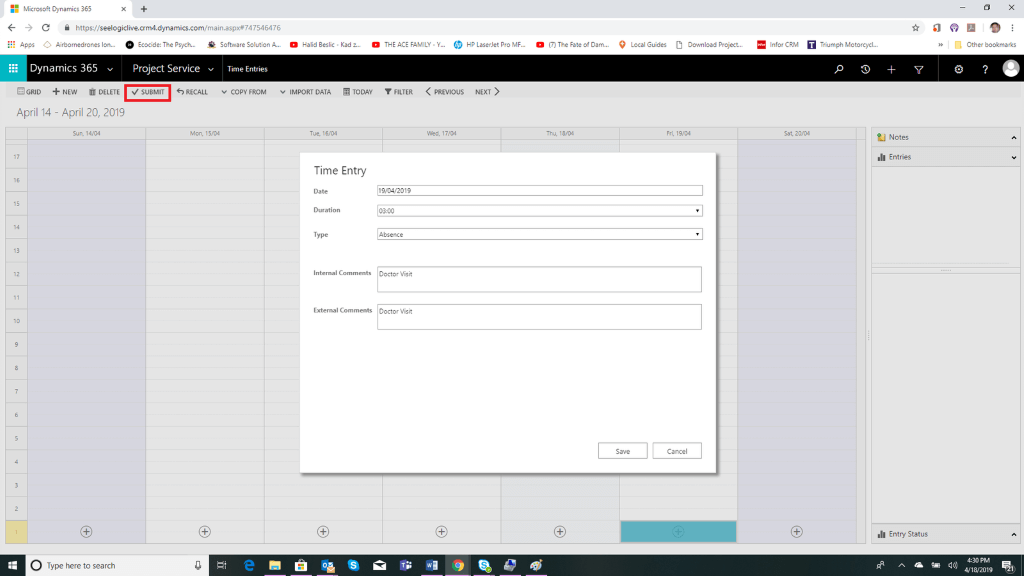
Step 7: Now, click on Submit
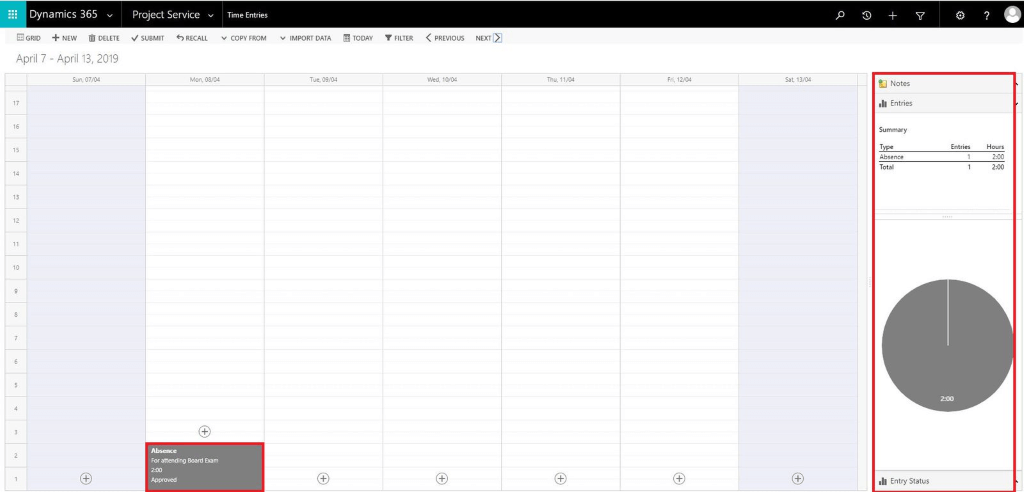
After you submit the time entry you can view a pie chart that shows your allocated time for each task that you have performed.
If you have any questions regarding the project management add-ons, for Microsoft Dynamics 365 Project Service Automation, Contact our specialist today for a no-obligation consultation on 01296 328 689. Or email us at info@dogmagroup.co.uk.